Thursday, October 30, 2014
Sugar Skull Wreath
Thursday, October 23, 2014
DIY Lazy Susan
sandpaper
1. Stain your board your desired color - I used weathered grey from Rustoleum - then sand with a fine-grit sandpaper.
4. Once paint is dry, coat with polyurethane to protect the finish.
5. Add turn-style hardware to opposite side of board.
6. I was worried about the turn-style scratching the surface of my table so I added a small piece of adhesive foam (from my craft stash) to pad it.
That's all, guys. Super easy, super inexpensive - I think this project cost me around $10.
I'm loving our new lazy susan - it's an addition that meets my criteria of being not only beautiful but also useful. My girls enjoy spinning it to get their salt and pepper as opposed to reaching around the dough bowl/antlers that used to be in its place - I'll admit that sometimes they enjoy spinning it a little too much but oh well... they're only little for a while, right?
Hope you're having a great week - it's almost the weekend so hang in there!!
Linking here:
The Handmade Hangout
Inspiration Gallery
Inspire Me Please
Link Party Palooza
Show and Tell Saturday
The 36th Avenue
Monday, October 13, 2014
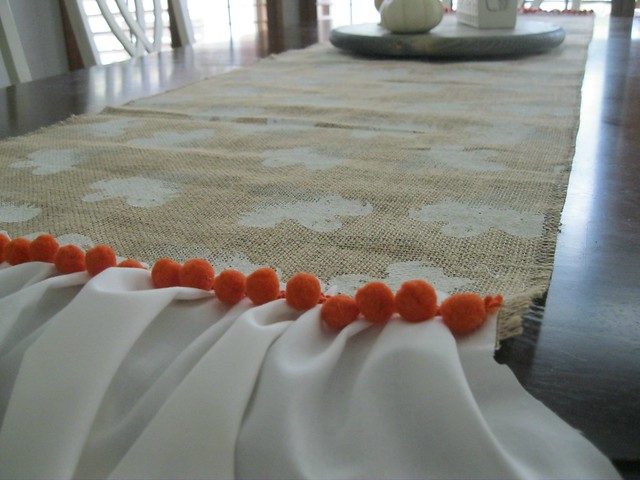
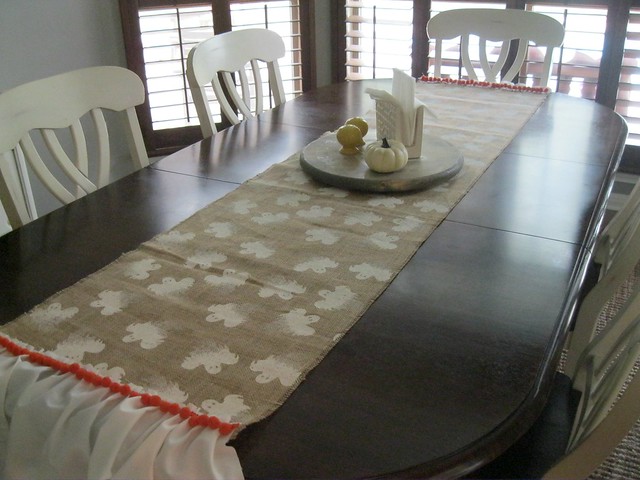
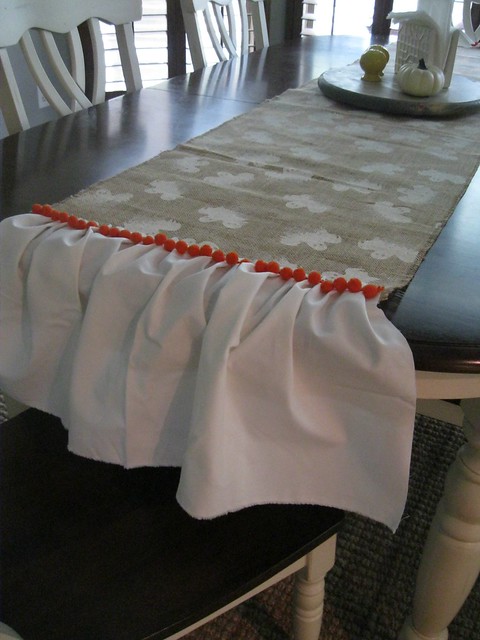
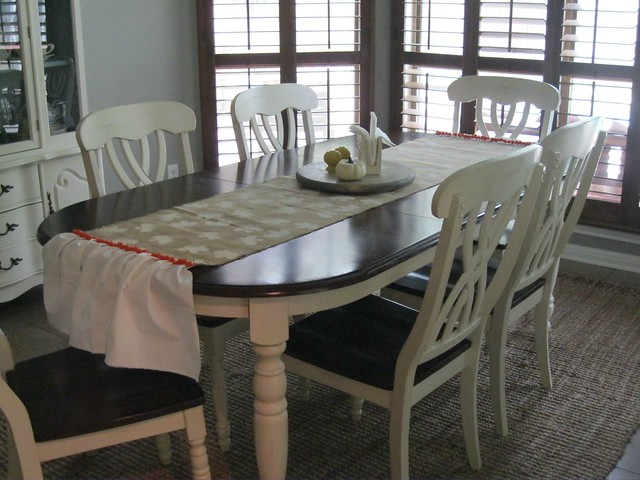
Halloween No-Sew Runner Tutorial
Linking here:
Inspiration Gallery
Inspire Me Please
Monday, September 29, 2014
DIY Felt Acorn Garland
- Acorn caps of varying sizes
- Felt balls of varying sizes
- Twine or Yarn
- Hot Glue
Sunday, January 19, 2014
Valentine’s Décor Roundup
Tuesday, January 7, 2014
Favorite Projects of 2013
Happy happy New Year friends! I took a little blog break over the holidays so I could enjoy this special time with my family… and before I get started on the pending to-do list of 2014, how about a little review of my fave projects from this past year?
This Green Desk Makeover for my daughter’s room added a punchy accent for her safari bedroom makeover.
A Zebra Stripe nightstand was another addition to aforementioned safari bedroom.
Next up, I finally did a project for my own bedroom… this French Dresser makeover!
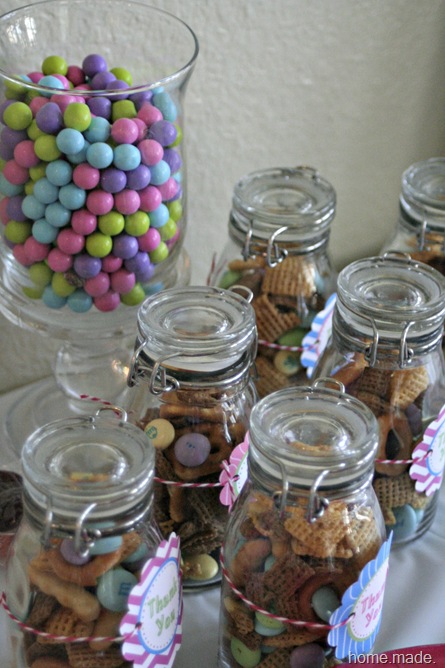
Not really a project, but a fun event nonetheless… this Girl’s Camping birthday party was a huge hit!
Then it was on to another fun, green makeover – an Antibes Green side table for my youngest chick.
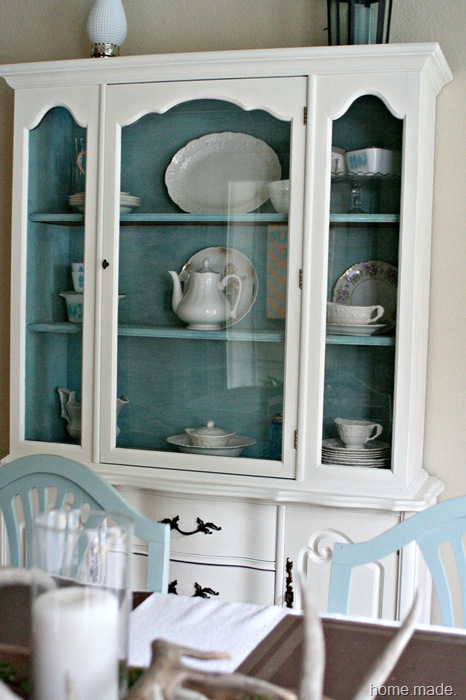
My Aqua and White Hutch makeover was one of my favorite redos – I just love it in my kitchen!
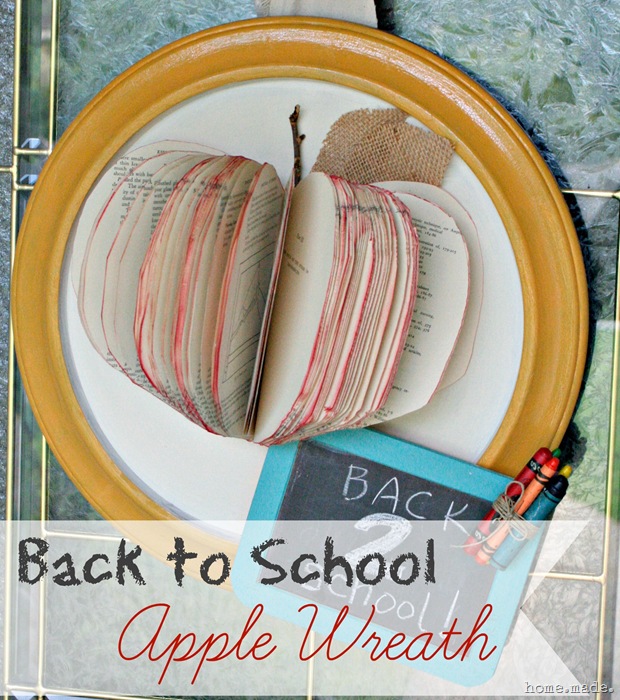
We kicked off the school year with this fun Back to School Apple Wreath, made from an old clock!
Then, it was time for fall and this Wheat and Hydrangea Wreath.
And finally, we closed the year and the Christmas season with this Book Page Star Tree Topper, which has since found a permanent home in my décor.
So there you go! My fave projects from 2013…I can’t wait to see what 2014 has in store for our little home.made. home. I’m determined to keep crossing things off of my to-do list!
How about you? Do you have big plans for this year?
Thursday, December 12, 2013
{Tutorial} Book Page Star Tree Topper
Hey hey friends! I’m back today to show you how to make the Book Page Star Tree Topper that I showed you earlier this week on my Neutral Christmas Tree:
This is a simple project that is easy to make with items you have on hand, and yet it makes such an impact. I continue to be enamored with projects made from time-yellowed pages, no matter how many of them I see. Book page wreaths, book page walls, book page garlands… love.
To make this tree topper, you’ll need:
- Book pages (preferable vintage)
- Hot glue
- Lace ribbon trim
- Burlap scrap
- Cardboard circle (I used the end of a ribbon spool)
Instructions:
1. Start out by tearing your book pages. You’ll need five full-size pages and ten half pages (tear in half). My book is a vintage nursing book so I had fun reading about care of the patient in the 1930s while I made this.
2. With the full size pages, form your paper cones by folding corner from the shorter edge towards the center of the page, wrap opposite corner over and hot glue in place.
3. Next, you’ll make your smaller cones with your half-pages in the same mani manner (Lordy I need my nails done.).
Here’s a comparison of the two sizes of paper cones, just for reference.
4. Now it’s time to make your star. Using hot glue, secure your large book page cones to your cardboard circle in a star formation. Crimp the ends of your cone prior to gluing to make a flatter center.
5. Using your smaller cones, you’ll fill in the gaps between the star points to create a starburst effect. I used two cones between the top/bottom points and three between the sides.
When you’re finished, your star will look like this:
6. Now we’ll just do some finishing. Cut a circle from your burlap scrap and hot glue to cover the back of your cardboard.
7. Using your lace ribbon trim, hot glue around the circle in the center to cover the ends of your book page cones. I pleated mine as I went and secured with hot glue.
8. You’re almost done… the final step is to make a loop from the ribbon trim. this is to slide over the branch on your treetop to keep your topper in place. I glued mine higher towards the top of the star to help it sit straighter.
9. You’re finished! Place your topper on your tree and enjoy!
Have a great weekend everyone… make it home.made.!
Linking here: