Monday, July 23, 2012

Summer Burlap Pinwheel Wreath

burlap pinwheel wreath

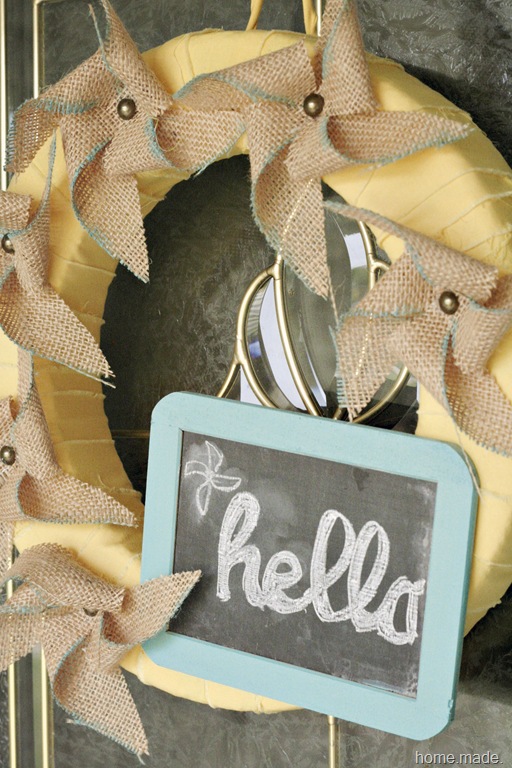
Inspired by the yellow and turquoise colourway of the Paint-Dipped Camp Stools, I decided to make a fresh, bright summer wreath for my front door.  (Walk of shame… I still had my Father’s Day wreath hanging!)

I simply wrapped a styrofoam wreath form with strips of yellow fabric (cut and then washed so the ends would be frayed), securing the fabric with pins so the wreath from can be used again in the future.

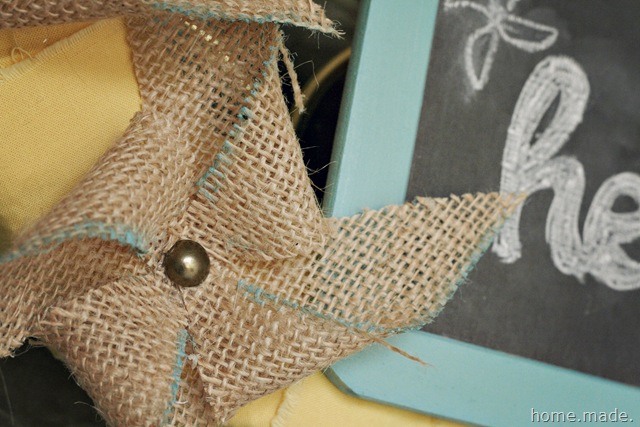
I then made little pinwheels from 5 inch squares of burlap, securing the tips with hot glue.  I added an ulphostery tack in the center for some sparkle and painted the pinwheel tips with turquoise paint.

burlap pinwheel

I added a welcome message on a small slate chalkboard purchased from Hobby Lobby, also painted turquoise…

burlap pinwheel wreath close

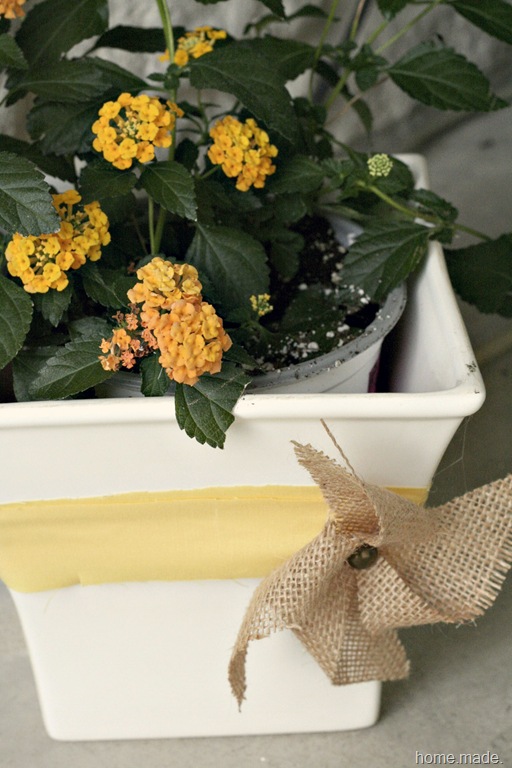
I love how cheery this makes my front door… and I’m hoping to spread the sentiment to the rest of my entry soon.  Here’s a little sneak at another pinwheel touch…

burlap pinwheel flower

I’m hoping to finish some more of the entry this week, but for now we’re a little occupied… our girls are home from their week long trip and we are enjoying our little family.

Life is good.

Linking up here:

Tatertots and Jello

Be Different, Act Normal

Positively Splendid

I Heart Naptime

Sunday, July 22, 2012

BlogHer Feature!


The fine folks at BlogHer are featuring my Chalk Paint Growth Chart... thanks BlogHer!


Thursday, July 19, 2012

Paint-Dipped Camp Stools!

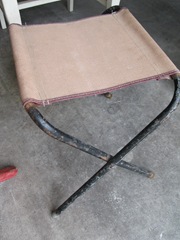
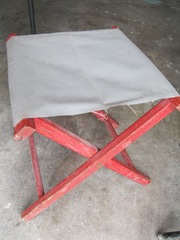
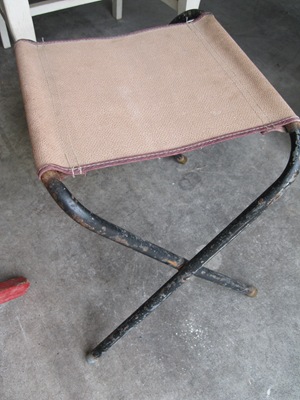
Recently, I was commissioned to give a little make over these time-worn camp stools:

120 121

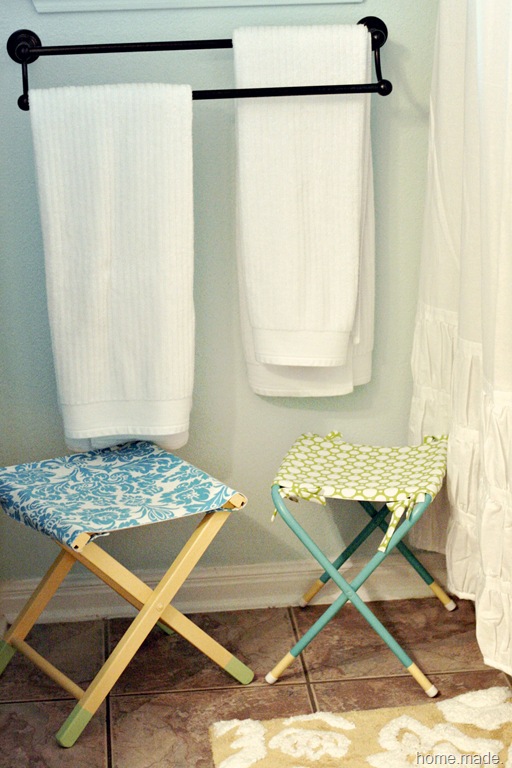
So a cheerful little make-over they did receive!

turquoise yellow and green stools

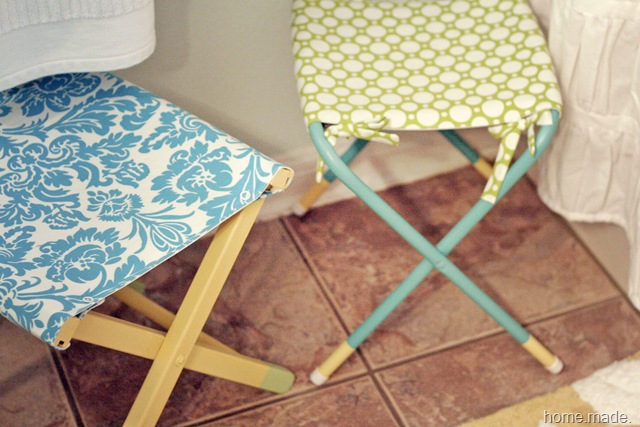
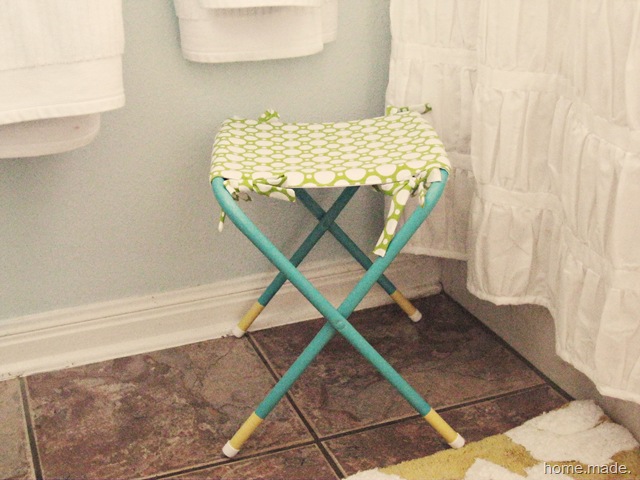
After doing a little prep work of cleaning, sanding, and priming, these two little stools were given fresh coats of paint, including fun paint-dipped ends!  Polycrylic was brushed on for added protection.

The owner did not want the original fabric slings to be removed, so I cleaned those up the best I could and then made coordinating slipcovers that can be removed and laundered as needed.

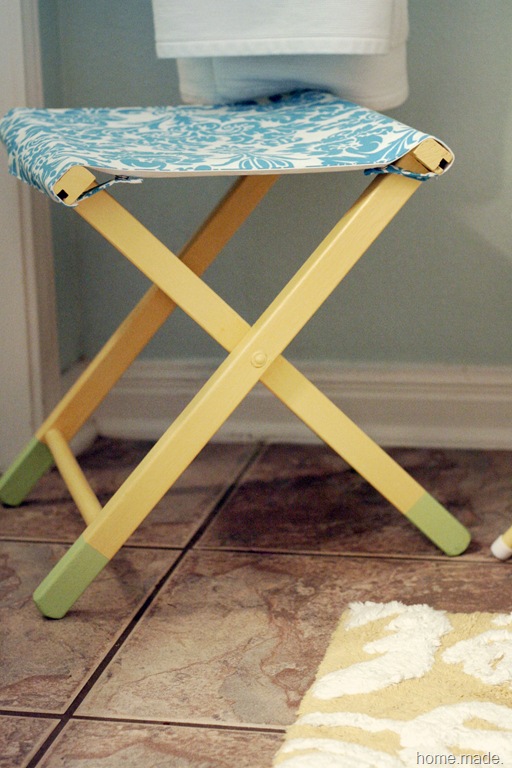
turquoise and yellow stool 1

For this stool, I backed a pretty turquoise damask print with white kona cotton and added tabs with snaps to secure around the stool edges.

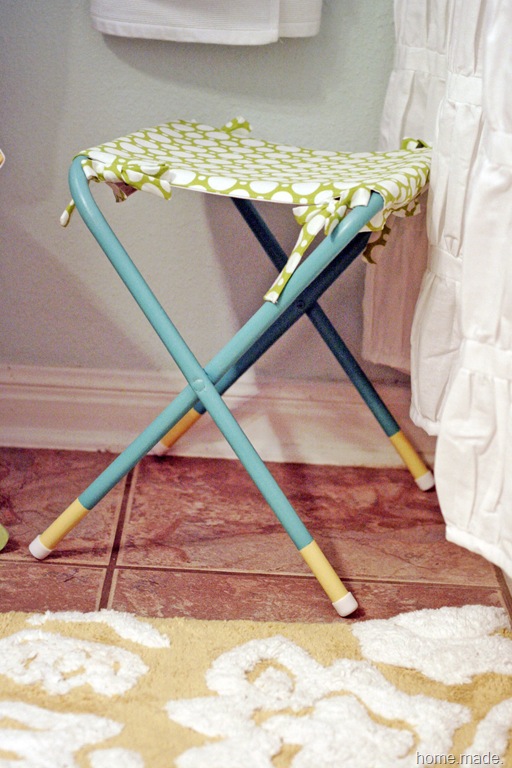
turquoise and lime stool

This slipcover is a lime green dot print backed with white kona cotton and secures with matching ties.  I also added elastic along the sides to give a ruffled effect.  (BTW – someone who shall remain nameless completely forgot to add the ties before sewing and topstitching and now has a coordinating pillow on her couch.  Please tell me I’m not the only one who has done this!)

turquoise and yellow stool

Here they are, ready for their new home!

Such a fun little project for my first commissioned work… (thanks Jenny for allowing me to take your creative ideas and run with them!)

turquoise and lime green stool

Linking up here:
Transformation Thursday

Freckled Laundry

The 36th Ave.

Sunday, July 15, 2012

While the Kids Are Away…

the project-completing begins!!

My girls are with their aunt and uncle this week (my fab sister and brother-in-law!) in sunny Florida, building sand castles, swimming, having a grand old time, and maybe missing us just a tad… or not!

While they’re away, I’m in full-on project mode.  I initially had planned to work on some kitchen painting this week, but that plan has been deferred for a little while longer.  In the meantime, I’m working on:

  • my daughter’s bedroom makeover
  • some more chalk paint growth charts
  • recovering cushions for my outdoor settee
  • and finishing up the little camp stools I showed you last week

In fact, I finished one of those little stools today?  Wanna see?

I should finish the other tomorrow, and then I’ll have a full post to tell you all about them.  I was this close to finishing up today, and when it came time to put the snaps on the cover, I couldn’t find a rubber gasket for my snap plier.  UGH.  Guess I’m going to get another snap plier tomorrow, unless of course they sell replacement rubber gaskets (pretty please?).

I also have a fun little front porch spiffin’ up in the works… inspired by the colorway of these stools!

Hope you had a great weekend!

Sunday, July 8, 2012

Back in the Saddle Again…

After being under the weather for the past three weeks with bronchitis, I’m finally feeling close to normal.  I was completely amazed at the exhaustion that came with coughing night and day… and although I’m not 100% recuperated yet, I’m much better since finally realizing my illness wasn’t improving and that I needed antibiotics.

Better living through pharmaceuticals, right?

With my newfound energy, I decided to start tackling a few projects today.  Yes, a few.  Tell me I’m not the only one who works better with a few irons in the fire!

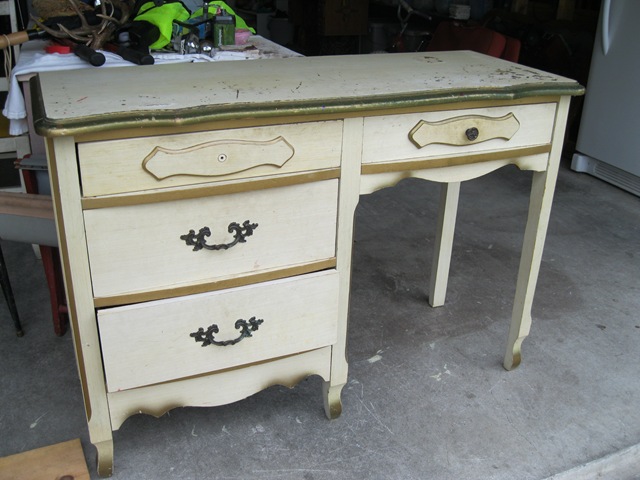
First off, I’m working on my daughter’s desk for her Safari Room Redo (this is a slow-going project due to that wonderful thing called a budget).  My sister found this desk on a Facebook buy/sell/trade page for thirty bucks:

115

It’s in pretty rough shape, but the lines are great and the size is perfect.  It’s a combo of laminate and wood, so painting has been interesting.  I decided not to use chalk paint this time but rather a semi-gloss latex paint, and let me just say, I really miss the chalk paint.  I had to sand this baby, do two coats of primer, and as of this afternoon, have added three coats of paint.  Oy.

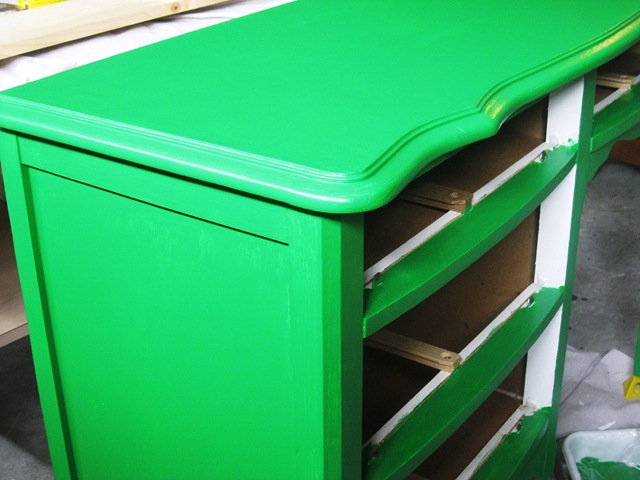
My daughter requested a green desk (“like grass, mom"), and since I’ve vetoed a few of her other decorating ideas (“ooohh, we could hang vines from the ceiling!”), I granted her request.

It’s green, ya’ll.

015

See what I mean?  Wow.

I do plan on adding a glaze to tone it down a bit, but the green is actually growing on me.  (And it was totally worth it to not have to hang vines from the ceiling in her room.)

While yet another coat of paint dries on the desk, I’ve also been working on another project:

121120

I’ve been hired to refurbish some old camping stools for a friend’s beach cabin – I’m excited about what I have planned for these and will show you the end result soon…

Lastly, I’m making a couple of my growth charts for some local moms, trying to earn a little cash to put toward my sleeper sofa fund (and support my DIY habit)…  I’ll be working on a couple chalk paint variations, so I’ll be sure to share all of the details.

016

So that’s it… lots goin’ on around here!

It’s so good to be back.


Thursday, July 5, 2012

Chalk Paint Growth Chart {Tutorial}

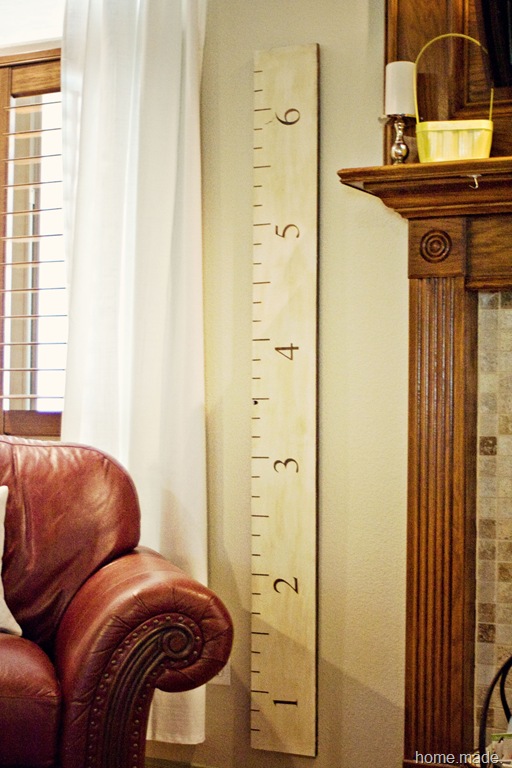
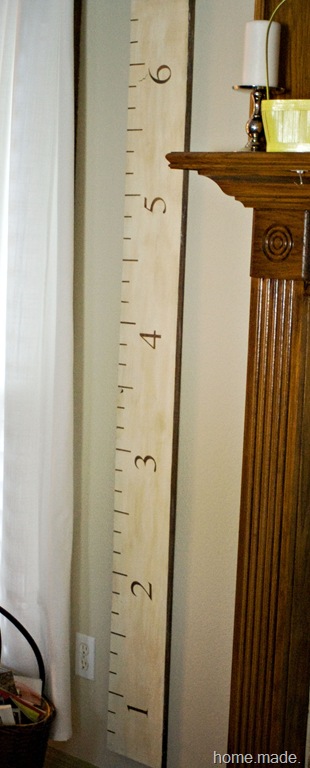
As promised… here’s the tutorial to make yourself one of these:
growth chart copy

You will need:

Pine board (6 feet long, 6 inches wide, 1 inch thick)
Stencils (mine were cut on my Silhouette)
Sandpaper (or electric sander)
Wood conditioner, stain, paint, wax
Sawtooth hangers (available in the picture-hanging aisle)

Instructions:

1.  Prepare your wood by sanding any rough edges, wipe clean, and wipe on wood conditioner.
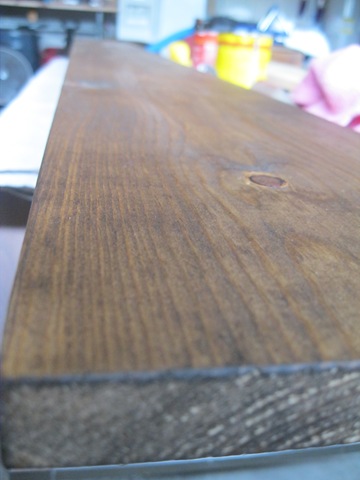
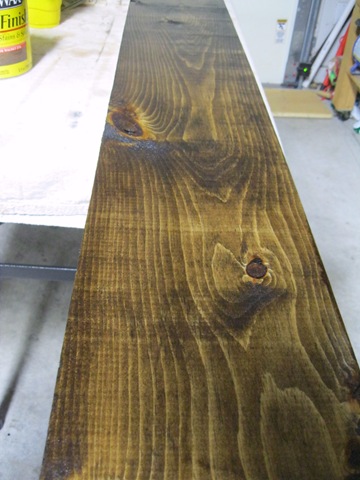
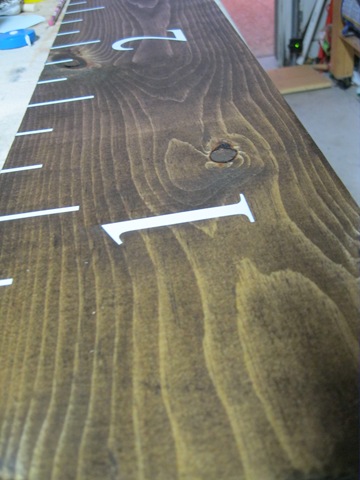
2.  Once wood conditioner has dried, apply wood stain (I used MinWax stain in Walnut) with a brush or rag.  Wipe off excess stain to achieve the desired color and allow to dry.
027
3.  I made my stencils with my Silhouette, but you could also cut strips of painters tape for the inch markers.  The smaller lines are 1 inch x 0.3 inches and the longer lines are 2 inches x 0.3 inches.  The numbers are good old Times New Roman, blown up to 278 font size.  (If you don’t have a vinyl cutter, you can trace the number onto painters tape and carefully cut out by hand.)
4.  Now it’s time to mark where your stencils will go.  **Important: Your ruler will begin at 6 inches so it doesn’t have to touch the floor and compete with baseboards.  This also makes for a more symmetrical look on your wall once hung.
I chose to add line markers every two inches for a cleaner look, using the longer 2 inch strips at the 6 inch and foot marks.
The number stencils were placed just left of the foot marker, 2.5 inches from the top edge of the board.
032
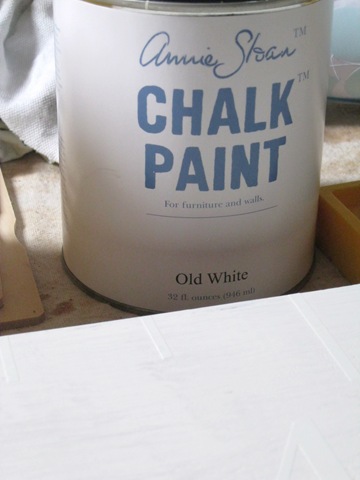
5.  Make sure your stencils are securely in place, and paint with two coats of chalk paint.
034
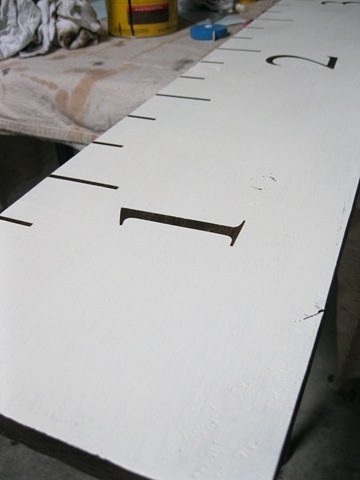
6.  Remove stencils.
035
7.  Distress if desired.  Wax and buff.  (I used Annie Sloan clear and dark wax)
**Optional: If you want to mark on this as a chalkboard, just skip the wax step so your chalk or chalk marker will work.
8.  Add two sawtooth hangers to back of board, being sure they are level.
9.  And that’s it!  Hang, admire, and measure your kiddos…
growth chart 2 copy
Linking Up:
Jennifer Rizzo
Friday Flair at Whipperberry
Show and Tell Saturday
Sundae Scoop
Trendy Tuesday
Tuesday’s Treasures
Wow Us Wednesdays
The 36th Avenue
Home Stories A to Z
DIY Club

LinkWithin

Related Posts with Thumbnails